Showing posts with label how to. Show all posts

07 April 2013

Another handmade home decor to share :)

Hi all 
I made this quite some time back, but wish to join this Fall Home Decor Challenge from Moxie Fab World. You may join this challenge with me and get some fun! :)

A sample posted for inspiration


I made this "welcome" sign for my front door. 


Here's a peek on step by step instruction of how I made it.


And here's some new listings up in my etsy shop. Some rubber stamps for your craft projects :)


I hope you like it and enjoy your visit here :)

Thanks for dropping by and have a blessed day ahead!

01 August 2011

christmas is love :)

it's been a loong time since i posted my last layout ;)
again, i've been unintentionally neglected my blog..  


i want to share my christmas layout :) the photos were taken last christmas 2010.
when i made this layout, i wish next month is december ;) i miss the feeling of christmas time :)


christmas decorations remind me of ribbons, glitters, tiny star lamps.. and i wished to decorate my page in the same way ;) 


i punched the kraft paper and stitch the ribbon to frame the photos.. i took pics of the process in case some of you want to try this.. easy peasy.. just need a little bit of patience here..


supplies used: 

- background : red - american craft, kraft - scenic route
- ribbons : my personal stash collection bought from any craft store, the one in the tag - american craft, red chipboard - maya road (painted in red with versa mark), yellow embellishment - prima marketing  
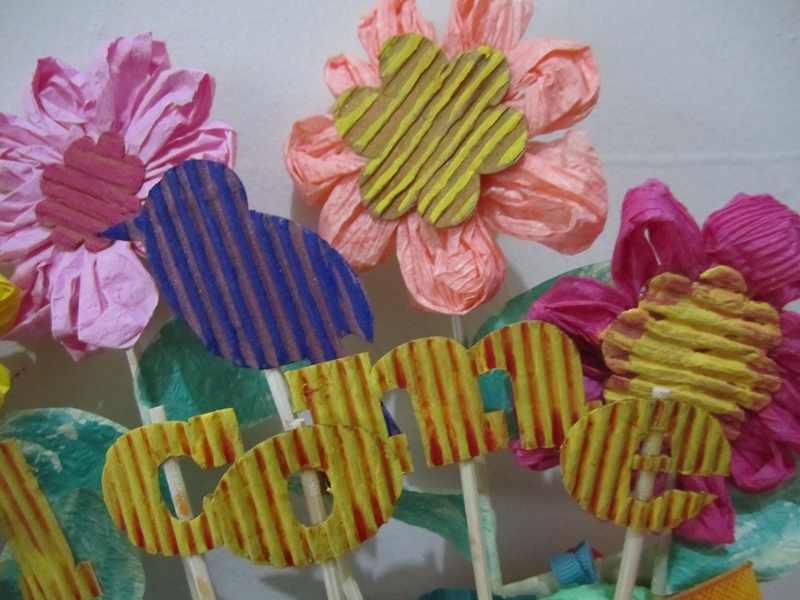
- title : letters - thicker, green matte (and horizontal strip) - scenic route, red matte - doodle bug, heart - basic grey, chipboard green frame - american craft
- flowers patterned paper - basic grey
- 2 small flowers - prima marketing

well, enough said, i think :) so many photos to scrap, so little time to spare... hahaha.. 
thank you so much for your visit to my humble blog. hopefully your visit is worthwhile :)

take care & God bless you! :)

16 March 2011

a project to share

finally i have something finished to be shared :) 


my first altered project ;) i will share more soon.. :)
okay, here are the "more" to share soon... 
i managed to take pics when making this "welcome sign hanger".. 


1. making of the base
i cut a styrofoam board into a bucket shape, and also cut 2 pieces of cardboard as the "cover". i attached the cardboard (big shape) to styrofoam and then covered them with yellow cardstock. next is the smaller part, a small part of this will cover the bigger cardboard.


2. paint the letters and other elements.  
these are from jillibean! aren't they just perfect! as i only have 1 color of making memories paint, i used my "pastels" to color them (except for the yellow ones).


3. paint them with glimmer mist. 
still didn't feel right with the colors, i spray them all with glimmer mist of tattered angels. i have some colors of these and would like to buy some more ;)


4. making of the flower.
i used crepe paper, some bought from daiso (SGD 2 for 3 colors). i attached the crepe paper on the corrugated flower as the top and another circle cut from stashes as the base. 

here are some close ups:


thanks so much for dropping by :)
God bless you!

28 January 2011

make your own "buttons" :)

i made this one for a challenge host by KP (one of the blog i stalk the most ;;) at club CK ;) to make buttons as embellishment with decorative sciccors. i got my sciccors from popular book store :) as long as the paper is not too thick, these sciccors definitely can work well!

i'm gonna share it here :)


1. pick ur favorite patterned paper, choose ones with small motifs, (**if it is too big, it can't be seen, unless u want to make giant buttons** hehehe) and cut with your choosen decorative sciccors. i love the scallop one.
2. add eyelets as holes on your buttons. u can also add 4 eyelets for each button.
3. as an accent, i apply glossy accent on the buttons ;)
4. add ribbon or twine. tadaaa.. u have ur embellishments ready!

and here is my lay out :) my first lay out in 2011.


thanks for dropping by. take care & be blessed! ;)